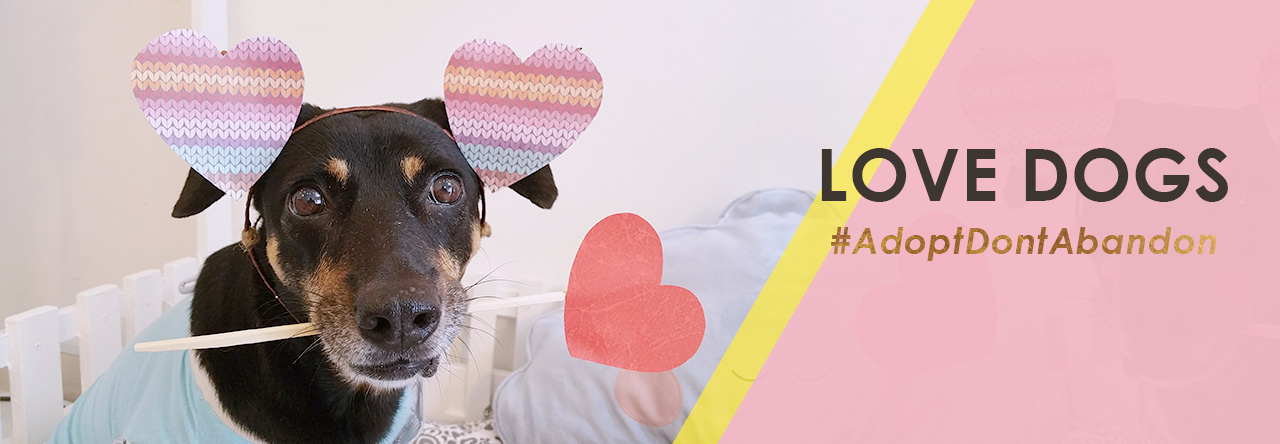
Halloween is coming soon!!
Last year, I showed you how I tried to make this photo eerie. This year, I thought I’ll show you how I quickly added some halloween colours to this photo, to give it a little bit more atmosphere:

Photo of Halloween Pupcakes from Feed My Paws for this week’s photo challenge. She’s a really nice lady so I don’t think she would mind very much if I use it for this quick tutorial. :P Of course, I’ll let her know I used it.
This tutorial will require that you have a basic understanding of Photoshop CS2.
First thing, first. The regular Challenge Theme that we add to every Challenge photo.

Give the text a red glow
I double clicked the layer the #sgdogshalloween text is on so that I activate the “Layer Glow” style, by ticking the box next to that label.
Clicking on the “Layer Glow” tab itself, calls up the options for that style. The Blend Mode is usually set to “Screen” by default. I change it to “Normal” so the red colour I chose will come out stronger.
Create the mood by adding Halloween colours to the photo
The three colours we are going to use are Black, Green and Red or Vermilion.
First, create a blank layer above the photo layer. We’re going to Brush the colour black about the photo to create a sort of dark halo effect. The blend more that I’m going to use for the black layer is Soft Light. So what you see below is a slight darkening of the colours of the image.

Switch it to normal, and you’ll see that the area at the bottom of the photo is almost completely black, while the areas to the left and right margins of the photo are just slightly dark. This is because my brush opacity is set to 50%, and I’ve brushed the area at the bottom several times to get the thick black.

This is so that when I change the blend more to “Soft Light”, this area will be comparatively darker to show up the red outer glow of the text.

I repeat the same process to create a Green layer and a dark Red layer. I set the blend mode for all the colour layers to soft light. What differs is where I brush the Red and Green colours so that they show through in different areas of the photo.
Tinkering with light
I still want to tinker with the light levels of the photo a little, so I click on the button in the Layers panel that allows me to create a new fill or adjustment layer.

I select “Levels” and drag the arrows in the graphical display that appears in the pop-up box below.

Basically I made the shadows and mid-tones darken, which created more contrast in the image and help the features on the pup-cakes show up better.
I click on the button in the Layers panel that allows me to create a new fill or adjustment layer again. This time I chose Curves, and dragged in the line in the graphical display to brighten up the image just a teeny bit.

Ignore the black at the bottom of the screenshot, I forgot to switch the blend mode back to Soft light for the screen grab.
And then what you see is what you get:
Before

After

If you’re making some Halloween bakes this season and looking to try this out, I’ll love to see your pictures! :)


Jen Gabbard (Jen Jelly)
I love that effect, I have no idea how to do any of those effect, definitely bookmarking this to give it a shot :)
Sue
Great tutorial!
DZ Dogs
thank you for the post!
Emmadog
Great lesson. We’ve had photoshop for a couple years but are always working to learn more about all the features!
2 Brown Dawgs
Very nice. I don’t have photoshop. I have Elements and Light Room. You can only do so much with those. :) Thanks so much for sharing on the hop!